
How To Use Lead Tape On Golf Clubs The Right Way
Looking for lead tape you can actually count on? Brampton lead tape is precision-cut, pressure-sensitive, and trusted by golfers at every level.
Lead tape is an effective and simple way to adjust the swing weight of golf clubs. It can influence the club’s overall feel and improve your swing. By adding or removing small amounts of lead tape, you can modify the balance of your clubs. This fine-tuning can help improve your swing tempo, increase accuracy, or even alter shot shapes.
If you are wondering how to use lead tape on golf clubs, this guide will walk you through everything you need to know for optimal results.
What Is Swing Weight?
Before you apply lead tape to your golf clubs, it is important to understand what swing weight is and how it affects your game. Swing weight refers to the distribution of weight in your club and how it feels when you swing it. It is a measure of how heavy or light a club feels during your swing, which directly impacts the feel and tempo of your shots.
The swing weight is determined by factors like the club’s length, the material used, and the position of the weight within the club. By adding lead tape to certain areas, you can adjust the swing weight to suit your preferences. You can influence your shot shape tendencies, depending on the area where you apply the tape.
Before You Start: Preparing Your Club
For the lead tape to stick properly, you need to ensure that the club’s surface is clean. Any dust or dirt can prevent the tape from adhering correctly. Clean the area with a cloth and a bit of rubbing alcohol, ensuring that no residue remains.
If you want a stronger bond, lightly sand the area where you plan to apply the tape. Use 200-800 grit sandpaper to roughen up the surface slightly. This preparation step helps the tape stick more securely and prevents it from peeling off during use.
Ensure that the area where you apply the lead tape is flat. Bumps or uneven surfaces can make it difficult to apply the tape properly, which can affect its performance. Make sure the area is smooth before proceeding with the application.
How To Apply Lead Tape On Golf Clubs
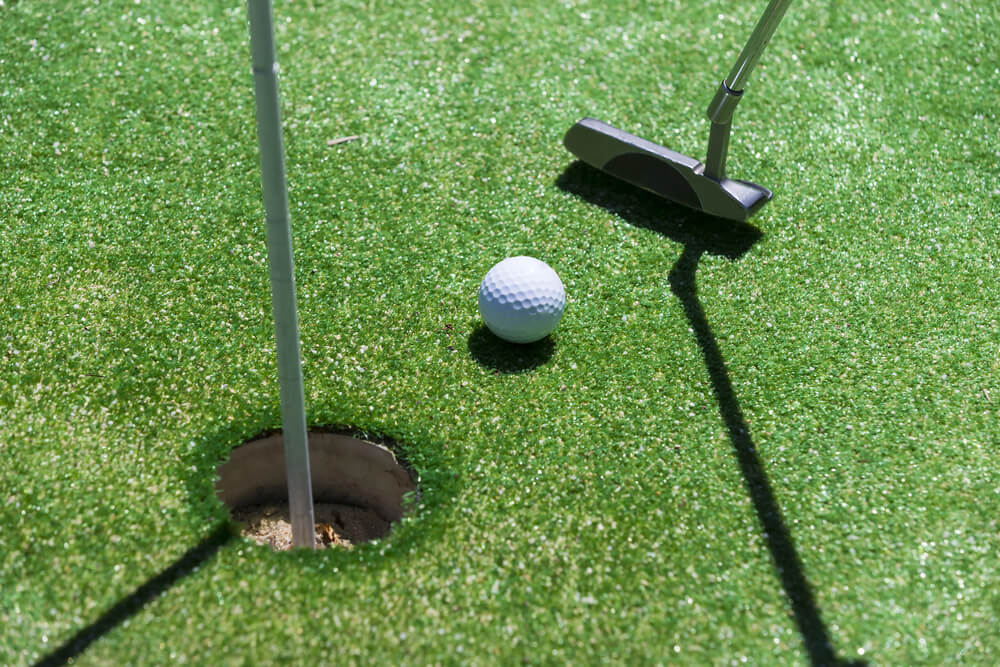
When it comes to putters, there are a couple of key areas where you can apply lead tape. The most common placement is on the sole of the putter, but depending on the shape of your putter, other placements may work better. By adding lead tape to the sole, you can adjust the putter’s overall weight and balance, helping you achieve better control and accuracy.
If your putter is oddly shaped, you may need to experiment with different placements to find the best result. The sole is typically the most neutral spot, providing a good balance without altering the natural movement of the club.
For irons and wedges, the best area to apply lead tape is the thickest part of the club. You want to place the tape where the most weight will be added to the club. This placement helps adjust the club’s swing weight for better consistency.
When applying lead tape to wedges, focus on the center of the club’s sole or the back of the clubhead. These spots will help distribute the weight effectively, providing better control during your swing. Be mindful of how much tape you apply, as even small adjustments can have a noticeable impact.
Hybrids, Woods, and Drivers
Applying lead tape to hybrids, woods, and drivers can significantly affect the shape of your shots. Depending on where you apply the tape, you can promote different shot shapes, such as a draw or fade.
- Neutral Application
The most neutral placement for lead tape is near the center of the clubhead. This position will not alter the ball flight and will only affect the swing weight. It is ideal if you are looking to adjust the feel of your club without changing the shot shape.
- Toe Placement
Applying lead tape to the toe of the club slows down the “closing” or “rotation” of the clubface, promoting a left-to-right shot (fade) for right-handed golfers and a right-to-left shot (fade) for left-handed golfers. This application can help golfers who tend to pull their shots or want to reduce a hook.
- Heel Placement
When lead tape is applied to the heel of the club, it speeds up the “closing” or “rotation” of the clubface. This promotes a right-to-left shot (draw) for right-handed golfers and a left-to-right shot (draw) for left-handed golfers. Placing lead tape on the heel can help golfers who struggle with a fade or want to reduce a slice.
How Much Lead Tape Should You Use?
The amount of lead tape you need depends on your desired adjustment. Generally, a small amount of lead tape (around 2 grams) will change the swing weight by about 1 point. Larger amounts of lead tape will make more significant changes.
It is recommended to start with small adjustments and test the club before making more changes. Adding too much lead tape at once can drastically change the feel and balance of your club, which may not always be beneficial.
Not All Lead Tape Is the Same
Many generic lead tapes (the kind commonly found on large online marketplaces) can fall short in a few important ways:
- Adhesive that weakens with heat, moisture, or repeated play
- Inconsistent thickness, which makes precise weight adjustments harder to dial in
- Edges lifting after a few rounds, especially on curved surfaces like hosels or soles
Brampton lead tape is made to a different standard:
- Pressure-sensitive adhesive holds through play without peeling
- Precision-cut strips make application consistent and repeatable
- Engineered for golf-specific surfaces and conditions
The goal is to add weight that stays where you put it.
Why Golfers Trust Brampton Technology
Brampton Technology has been in the golf equipment business since 1996, founded by professional club builders and a chemical engineer with patents in adhesives and specialty polymers. The products that emerged from that background were built around the real demands of club fitting, repair, and performance.
Today, Brampton Technology is trusted by leading golf brands, including PXG, LAB Golf, Club Champion, and PGA Superstore. HF-100® Grip Solvent and PRO-FIX® Epoxy have become industry standards in golf workshops and fitting bays across the country. The lead tape carries that same standard: made in the USA, formulated for consistency, and designed to perform round after round.
When a product earns a place in professional club-building shops, that’s a track record.
Mastering Lead Tape Application
Lead tape is an excellent tool for golfers who want to fine-tune their clubs for a better feel and improved performance. It offers flexibility, allowing golfers to experiment with different swing weights and shot shapes. By understanding the basic principles of how to use lead tape on golf clubs, you can make small adjustments that lead to big improvements in your game.
The process of applying lead tape is simple but effective. Start by cleaning and sanding the area where you will apply the tape. Then place the tape in the correct position to achieve your desired outcome. If you are adjusting the weight of your putter, irons, or driver, lead tape is a versatile, cost-effective way to customize your clubs.
Need Help with Lead Tape or Other Golf Club Customizations?
At Brampton, we specialize in high-quality golf products. If you are looking for lead tape, golf lead tape from Brampton can help you achieve the perfect swing weight adjustments with ease. Additionally, our multi-purpose epoxy is great for attaching golf grips and repairing clubs.
Take control of your game by experimenting with different adjustments. Our products will help you achieve the performance and comfort you are looking for.
Your clubs should feel like an extension of your game, not a compromise. Talk to the Brampton team about lead tape, epoxy, and everything in between. We’ve been helping golfers get it right for nearly 30 years.