
How To Cure Epoxy Faster: 10 Proven Methods
Ready to get started on your project? Shop Brampton’s full line of epoxy products that are formulated for strength, speed, and reliability.
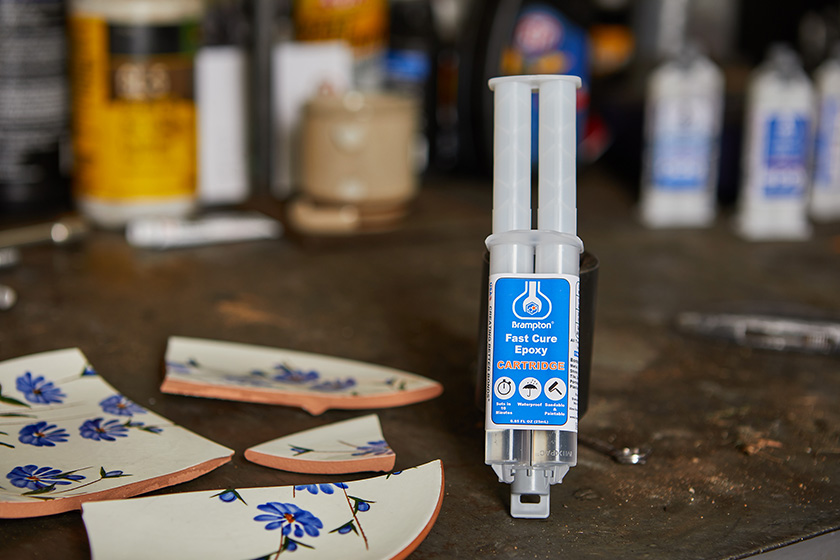
If you’re working with epoxy for a repair, project, or golf club installation, timing matters. Sometimes waiting a full 24 to 72 hours for epoxy to cure just isn’t practical. Whether you’re racing against the clock or working in a cooler environment, learning how to cure epoxy faster can make a big difference in your results and your schedule.
At Brampton Technology, we’ve worked with epoxy for decades. From high-performance adhesives to our trusted grip solvents, we understand how environmental conditions influence cure times. While there’s no instant fix, there are reliable methods to accelerate the curing process without sacrificing quality.
Based on our experience, here’s what consistently delivers the best results.
Why Epoxy Cure Times Vary
Before exploring ways to speed things up, it’s helpful to know what affects epoxy curing. The process depends on a chemical reaction between the resin and hardener. This reaction is sensitive to several factors, including temperature, humidity, mixing precision, and the thickness of your application.
Warmer temperatures help drive the reaction faster. In contrast, cold or damp environments can drastically slow it down or even prevent the epoxy from curing completely.
Work in a Warm Environment
Raising the temperature of your workspace is one of the most effective ways to reduce cure time, especially when paired with a fast-curing epoxy designed for controlled environments, like PRO-FIX® Rapid Cure Epoxy. Warmer air accelerates the chemical reaction between the resin and hardener. The ideal temperature range for most epoxies is between 75°F and 85°F (24°C to 30°C).
If the area you’re working in falls below that range, consider using a space heater or heat lamp to increase the temperature. Take care not to overheat the space, as excessive heat can introduce bubbles or cause the resin to cure too quickly, leading to brittleness or surface imperfections.
Want consistent curing results? Use epoxy formulated for temperature-sensitive environments.
Browse Temperature-Optimized Epoxy
Warm the Bottles Before Mixing
In cooler settings, you can give your epoxy a head start by warming the resin and hardener bottles before mixing. Place both in a warm (not boiling) water bath for 5 to 10 minutes.
This step lowers the viscosity of the materials, making them easier to mix and pour. Be sure the bottles are sealed tightly and thoroughly dried before opening. Any water that enters the mix can negatively affect the curing process.
Use Thinner Layers
Applying epoxy in thick layers slows the curing process because the material takes longer to fully set throughout its depth. Whenever possible, opt for thinner applications.
This method works well for coatings or when building multiple layers for added strength or design. Not only does it support faster curing, but it also allows greater control over the finish and final appearance.
Getting the most out of your application technique starts with the right formula. Find the epoxy that fits your project timeline.
Choose a Fast-Curing Formula
Cure times can vary greatly depending on the epoxy formulation. At Brampton Technology, we offer a variety of options designed to meet different project timelines and conditions. For instance, our quick-cure epoxy sets in just a few hours when used in the right environment. This makes it an excellent choice for urgent repairs or rapid club assembly.
Be sure to select a formula that aligns with your project’s strength and flexibility requirements. Follow all temperature and mixing guidelines provided by the manufacturer to get the best results.
Looking for faster cure times without sacrificing strength?
Explore Quick-Set Epoxy Options
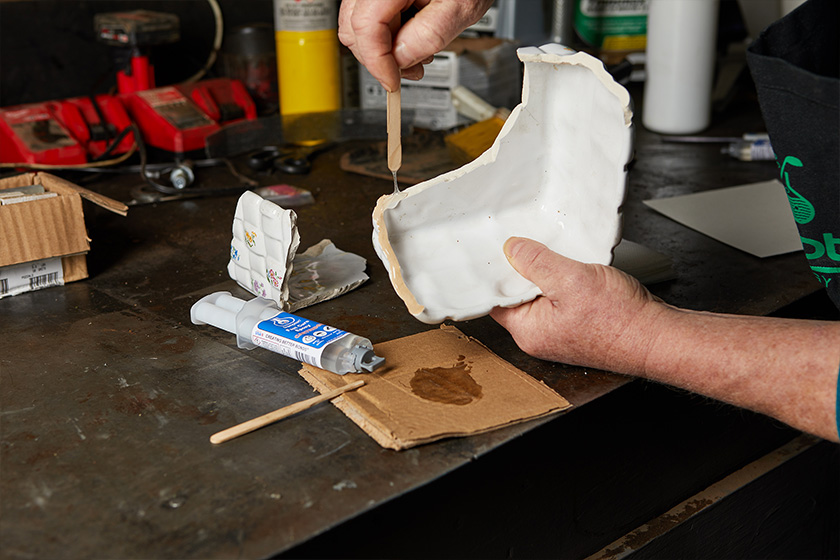
Maintain Proper Mixing Ratios
Incorrect mixing is a common reason epoxy fails to cure properly. The reaction depends on a precise ratio of resin to hardener. Deviating from this balance can result in soft or tacky spots.
Stick to the recommended ratio, often 1:1 or 2:1 depending on the product, and mix slowly and thoroughly. Scrape the sides and bottom of the container to evenly incorporate all material.
Use a Heat Lamp or Warming Blanket
For concentrated heat, a heat lamp or electric warming blanket placed at a safe distance can help speed up epoxy curing. These focused sources of warmth are useful when you want to avoid heating the entire workspace.
Keep the heat gentle and consistent. Too much heat can damage the surface or lead to an uneven cure. Always monitor the area carefully. Using a thermometer is a good way to monitor temperature. For smaller tasks, even a hairdryer on a low setting, kept in constant motion, can provide just enough warmth to make a difference.
Shield From Moisture and Dust
High humidity can do more than slow down curing; it can also affect the appearance of the final result. Cloudy finishes and uneven textures often result from too much moisture in the air. Keep your workspace dry and well-ventilated. A dehumidifier is useful if you’re working in a damp garage or basement.
Dust is another threat. It can settle onto the epoxy while it’s curing, leaving permanent marks. Use a clean box, plastic sheet, or simple tent setup to protect the surface.
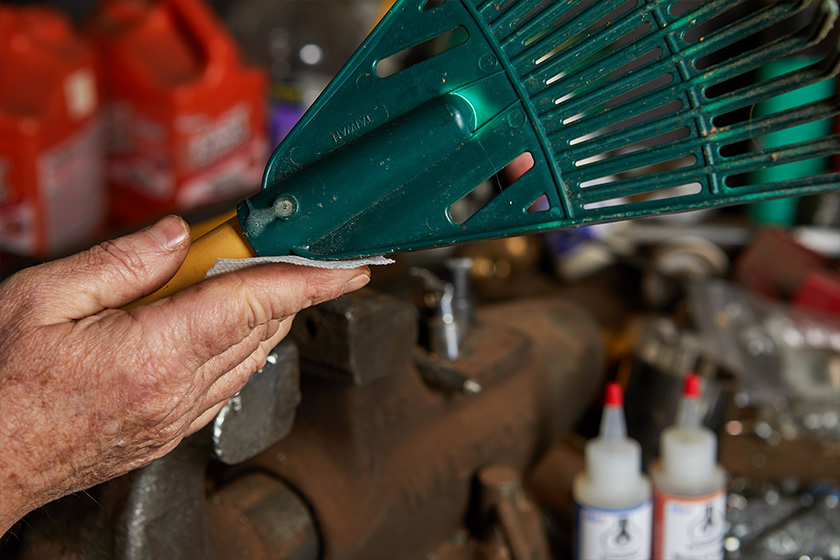
Preheat the Surface You’re Bonding
When working with colder materials, such as metal or during the winter months, preheating the surface before applying epoxy can make a noticeable difference. Warmer surfaces help keep the epoxy fluid longer and promote a more even cure.
For example, warming a golf club hosel with a heat gun before installation allows the adhesive to spread more effectively. Just avoid overheating the material, as it can damage the epoxy or compromise the surface.
Avoid Overusing Hardener
One common myth is that adding more hardener will speed up the cure. In reality, this disrupts the chemical balance, leaving you with soft, tacky results.
More hardener doesn’t mean a faster cure; it means a failed mix. Stick to proper proportions. If you’re short on time, switch to a fast-cure product instead of altering the mix.
Let It Breathe (But Not Too Much)
Air circulation can help carry away fumes and promote a better cure. Use fans on a low setting to move air gently through your workspace. However, avoid aiming a strong breeze directly at your project, which can introduce dust or cool the surface too quickly.
Good airflow is particularly important when working with larger epoxy volumes, as it helps regulate heat buildup and prevents the resin from overheating.
What Not to Do
Speeding up epoxy curing is helpful, but it comes with limits. Don’t:
- Place the project in direct sunlight if it isn’t UV-stable.
- Use boiling water or open flames.
- Add foreign materials or chemicals to the mix.
- Move the project around during curing.
Each of these mistakes can compromise strength, clarity, or adhesion—resulting in more rework and wasted material.
At Brampton Technology, we’ve spent years refining the quality and performance of our epoxy solutions. We know how frustrating it can be to wait around for resin to cure, especially when your project is ready to move forward. The methods above aren’t shortcuts; they’re smart, proven adjustments that work with the chemistry of epoxy, not against it.
If you’re working in a shop, garage, or even on the course, the right technique makes a big difference. Our Made-in-the-USA epoxies are formulated for reliability, strength, and easy application. With the right tools and setup, you can complete your projects faster without sacrificing quality.
Have a project in the works or questions about which epoxy is right for the job? The Brampton team has the expertise to point you in the right direction, reach out and let’s talk.